
Learn to select shower tiles that prevent mold and water damage. Expert advice from Jerry and the Tilemakers’ 30+ years bathroom tiling experience.
Shower areas face the most intense moisture exposure in bathrooms, requiring tiles specifically suited to constant water contact. At Jerry and the Tilemakers Sunshine Coast, our 30 years of combined industry experience includes extensive knowledge about creating healthy, water-tight shower installations. This guide ensures you select shower tiles and installation approaches that prevent common problems like mold growth, water leakage, and premature deterioration in Queensland’s humid climate.
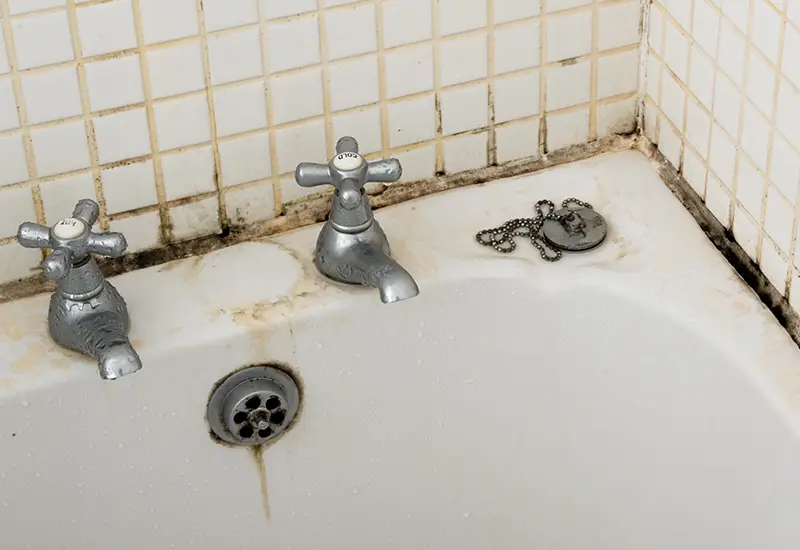
1. Select Tiles With Minimal Water Absorption
Shower tiles must resist water penetration to prevent moisture reaching substrates and causing structural damage or mold growth. Porcelain tiles offer the lowest water absorption rates (less than 0.5%), making them ideal for shower applications. Glazed ceramic tiles also work well when properly rated for wet areas. Both tile types prevent water absorption that leads to efflorescence, tile debonding, and mold development behind tiles. Avoid porous materials that absorb moisture. Our Warana showroom stocks extensive ranges of premium porcelain and glazed ceramic tiles specifically rated for shower use. These tiles maintain their appearance and integrity despite years of daily water exposure in Sunshine Coast humidity.
Professional Tip: Verify tiles display water absorption ratings under 0.5 percent and are explicitly rated for continuous wet area use rather than general bathroom applications, ensuring maximum moisture resistance critical for shower installations.
2. Choose Appropriate Tile Sizes for Shower Areas
Tile size in showers affects both aesthetics and water resistance. Smaller tiles create more grout lines that can potentially harbor mold if not properly maintained, but they also allow better conformity to shower floors requiring proper drainage slopes. Larger wall tiles minimize grout lines in shower surrounds, reducing potential mold growth areas and creating contemporary, easy-to-clean surfaces. For shower floors, smaller format tiles or mosaics (100x100mm or smaller) work best as increased grout lines provide slip resistance and accommodate required drainage falls. Our experienced team at Jerry and the Tilemakers helps you select tile sizes optimized for different shower zones, balancing aesthetics, safety, and water management.
Professional Tip: Use larger format tiles (300x600mm or bigger) on shower walls for minimal grout lines and modern aesthetics, while smaller tiles on shower floors provide essential slip resistance and accommodate drainage requirements.
3. Select Grout and Sealing Products That Resist Mold
Grout quality significantly impacts shower longevity and mold resistance. Epoxy grout offers superior water and mold resistance compared to cement-based grouts, though it costs more and requires professional installation. Quality cement-based grouts with mold inhibitors work well when properly sealed. Apply penetrating grout sealers after installation and reseal annually to maintain water resistance. Choose grout colors that hide soap residue and light discoloration rather than stark white that shows every mark. Our team at Jerry and the Tilemakers stocks professional-grade epoxy and cement grouts plus premium sealers. We provide detailed guidance about grout selection and maintenance for shower applications during consultations.
Professional Tip: Epoxy grout virtually eliminates mold growth in shower grout lines and requires no sealing, making it worthwhile for shower floors and lower wall areas receiving the most direct water exposure.
Step 4: Ensure Proper Waterproofing Systems Behind Tiles
Shower waterproofing behind tiles is more critical than tile selection itself for preventing water damage and mold. Comprehensive waterproof membranes must cover all shower surfaces including walls, floors, corners, and penetrations before tiling. Australian Standards require shower waterproofing extending minimum 1800mm height on walls and across entire shower floor areas. Waterproofing must be continuous with no gaps at junctions between different surfaces. Our trade-qualified tilers at Jerry and the Tilemakers follow strict waterproofing protocols on every shower installation. We use premium waterproofing systems proven effective in Sunshine Coast conditions, ensuring complete protection behind your shower tiles.
Professional Tip: Shower waterproofing should be tested with a flood test (holding water on shower floor for 24 hours) before tiling begins, verifying system integrity and preventing costly repairs from undetected leaks after tile installation.
5. Incorporate Proper Drainage and Ventilation
Even the best shower tiles require proper drainage and ventilation to prevent moisture accumulation causing mold. Shower floors must slope toward drains (typically 1:100 gradient minimum) preventing water pooling. Ensure adequate drainage capacity for your shower size. Install exhaust fans venting outside (not into roof spaces) with capacity appropriate for bathroom size, running during showers and for 20 minutes afterward. Keep shower doors or curtains partially open when not in use allowing air circulation. Our designers consider ventilation requirements during bathroom consultations, ensuring your complete shower system manages moisture effectively. These measures work together with quality tiles to create healthy, mold-resistant shower environments.
Professional Tip: Position shower drains toward shower entries rather than at back walls when possible, ensuring water flows away from main standing areas and reducing moisture exposure time on shower floors.
6. Trust Professional Installation for Water-Tight Showers
Shower installation requires specialized expertise including waterproofing application, proper substrate preparation, correct tile adhesive selection, and meticulous sealing of all joints and penetrations. Mistakes lead to water infiltration, expensive damage, and health hazards from hidden mold growth. Our tilers at Jerry and the Tilemakers have extensive shower installation experience and follow Australian Standards for wet area construction. We provide complete Design, Supply, and Install services for shower renovations, managing projects from waterproofing through final sealing with attention to detail ensuring water-tight, mold-resistant results. Contact us at 07 5437 8582 for a free shower renovation consultation and quote.
Professional Tip: Professional shower installation includes movement joints at floor-wall junctions filled with flexible sealants rather than rigid grout, accommodating building movement and preventing cracks that allow water penetration behind tiles.